I spent a lot of time in February working on the lander, but most of March hurried by as work got busy and I decided to take a break. I need to kick back into gear again, as I had the ultimate goal of getting the vehicle ready for cold flow and maybe static fire (stretch) at the end of the year.
The goal for march is/was to do the following:
- finish all avionics boards and firmware (got close, just some firmware to go)
- get tank mounted and get ready for hydro test (close, tank is mounted but still needs some welds, and I still need some pump parts for the test)
- finish each of the TVC actuator prototypes (close.. parts are in a good state, just need to machine some stuff)
Here are some progress pics from the last update...
The " Everything Else Board" is finished. Here are a couple pictures at the beginning of assembly, and then a final one where it's finished. I also made a new mezz board for the top of the flight computer, since PCBs are super cheap now, and I had a couple things I wanted to make better.
The Teensy 4.1 is the prime mover and shaker here. It reads from 2 GPS receivers, 1 backup IMU, commands an IO expander to drive the relays, reads an ADC port through an 16 channel multiplexer, and communicates with the flight computer over SPI to do tell it about that information, and to receive valve timing commands.
You can see the full Flight Computer Sled assembly in concert below. Check out the snazzy silk screen on the flight computer. The XBee is just for fun, and for cheap debugging
The Avionics Bae box with the sled mounted
I also finished designing, ordering, assembling, and testing the power board. It powers all the digital logic, and also distributes an isolated battery power to the relay board to power all the valves. The logic power rails are 12V, 5V, and 24V. It kind of just powered on perfectly, and has noissues so far, which tends to be rare. But I kept the design pretty KISS anyway.
Check the 24V monolithic RECOM converter. I asked for samples and they sent me 3! These are to supply the Ubiquit Rocket M modem that lets the flight computer talk to the ground.
Here is everything mounted up besides the batteries. I made the harnesses for everything, and everything powers up. What an exciting moment! Glad I didn't release any magic smoke.
I'm pretty happy with the solution. Hopefully things continue to keep working... Next step is to finish the firmware, make a couple more harnesses, and then test out all the other functionality. I also want to get the flight computer talking to my simulated ground station.. Then I could feasibly start remotely pushing new softwares loads. I could even hook the USB interface of the FC up to the Teensy and upload new firmware remotely...
Here is what some of the harnessing looks like so far... it will get cleaned up.
On to tank stuff...
If you had followed along on tank progress, the previous mounting solution was super janky. This one works a charm. I designed some 2 dof sketches for the main mounts, got them laser cut with sendcutsent, and the TIG welded them. I then fit the tank with the bent sheet metal brackets I fabricated earlier, and it works a charm. I'm so glad I decided to use laser cut metal instead of 1" steel tube which was very hard to cut properly.
I also welded the cross bracket for the avionics box.
Next steps here are to tig weld the feedhead and diffuser to the top of the tank, and then buy the rest of the parts needed for hydro test.
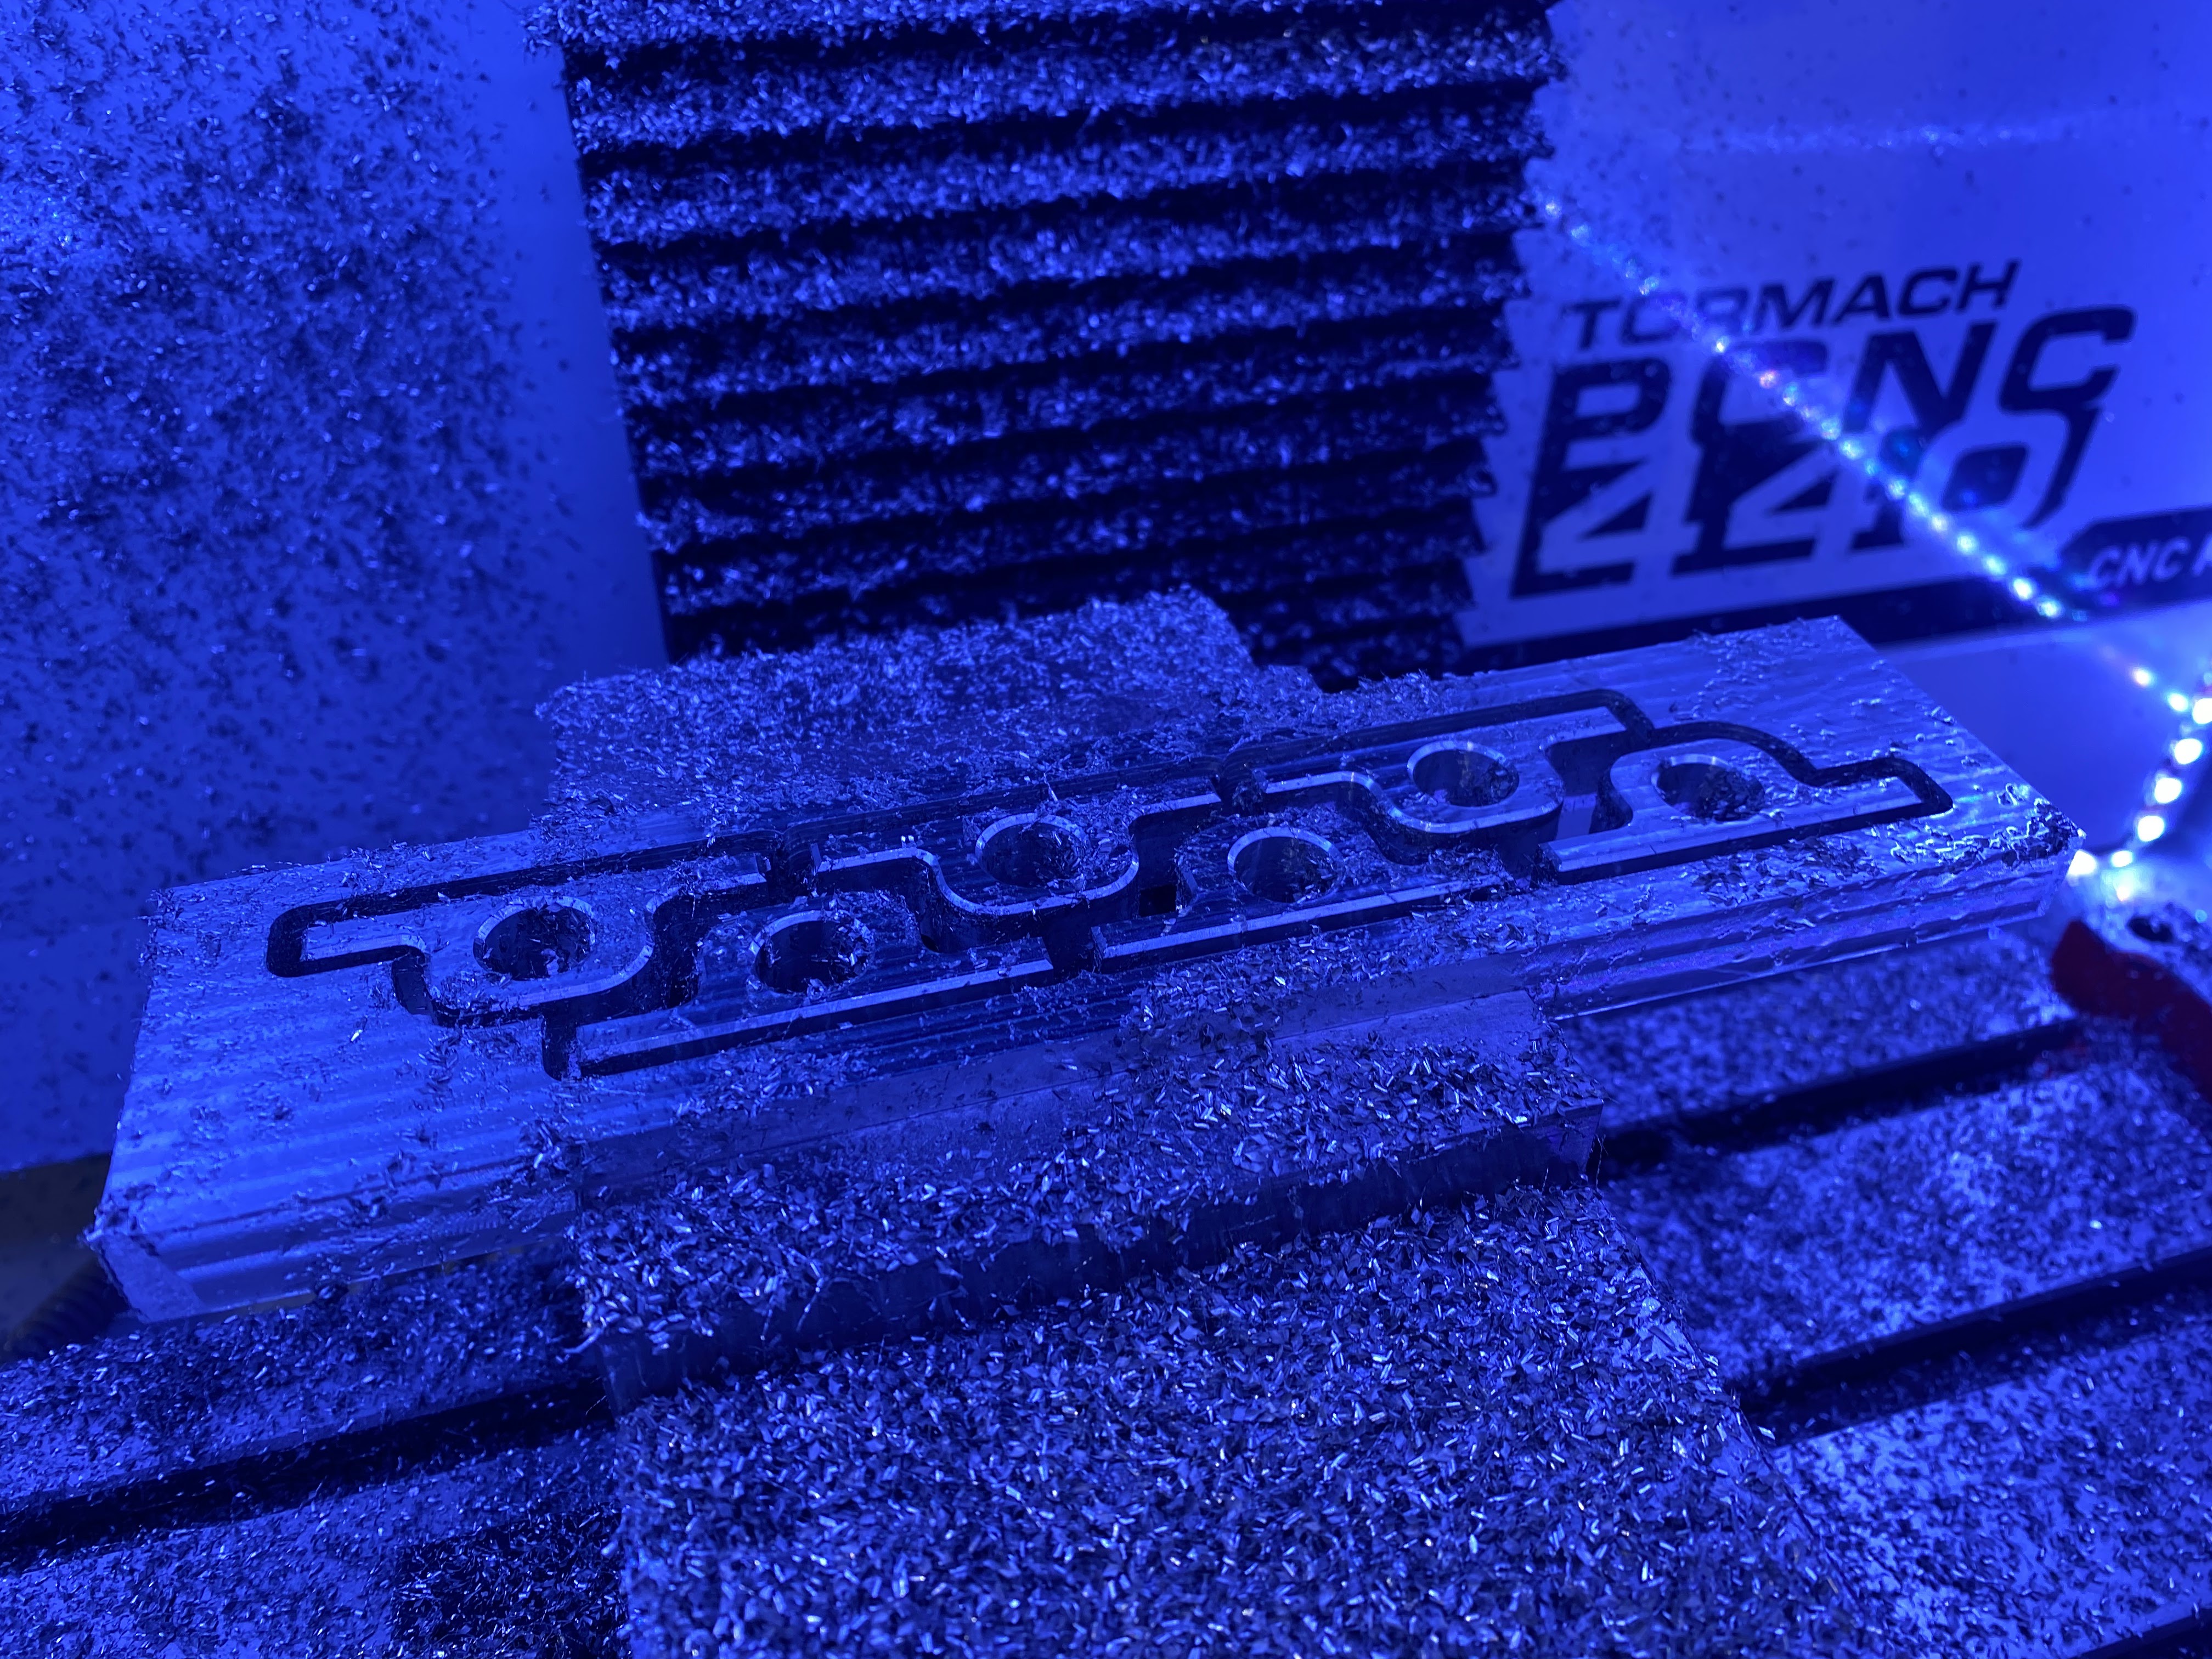
TVC... I have been meaning to finish these actuators for a long time, but machining gets so expensive. I decided to test two methods: Joey B and a Chinese Machine Shop. Joe is a great human and was down to help me make some parts. I sent him my files and we got started on his new Tormach P440. I am new to CNC machining, so I learned a lot and realized. Damn it's definitely hard to get down. As far as the overseas machine shop goes.. the communication was very difficult, as it was all over email rather than wechat, so we'll see if they ever arrive.
The parts came out super beautifully. We stumbled on a couple things along the way, as we learned how to make these kinds of parts, and it was a great learning experience!
The homies


No comments:
Post a Comment